Overview
Starting the software
Note
All screen images shown in this documentation are taken while using Microsoft ® Excel for Mac. Screens for Microsoft ® Excel running on Microsoft Windows will be different.
This software is a spreadsheet built using Microsoft ® Excel with macros used for many of the features. The use of macros within a spreadsheet will cause a warning message and prompt the user about their use.
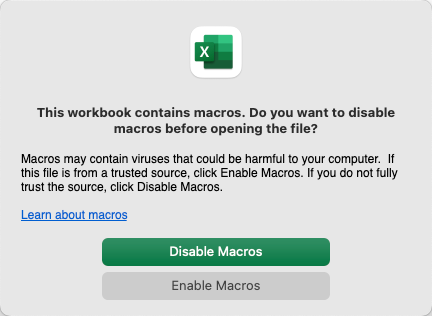
For this software to fully function the spreadsheet macros must be enabled. This is the message prompt that is shown when starting Retirement Planner. Press the Enable Macros button to continue with all features enabled.
If the Disable Macros button is pressed this will render features of the software as non-functional.
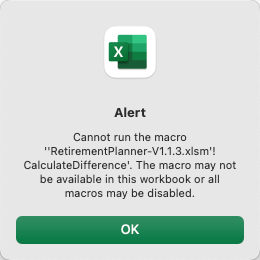
This message box will be shown when attempting to execute a feature and macros have been disabled.
Protected startup
Each time the software is started, with macros enabled, a macro is executed that protects all tabs with a default password. If macros are not enabled, no protection of tabs is performed, and the default tab will be the last used tab when the software was closed. At any time, any sheet/tab can be unprotected thus allowing changes to protected areas or features of the tab. If a tab is protected with a different password, that new password will be reset to the default password when the software is closed and started.
Default password for all sheets/tabs
Password: retire (all lowercase letters)
This feature is designed to guarantee protection of tabs and ensure a standard password is defined.
First screen
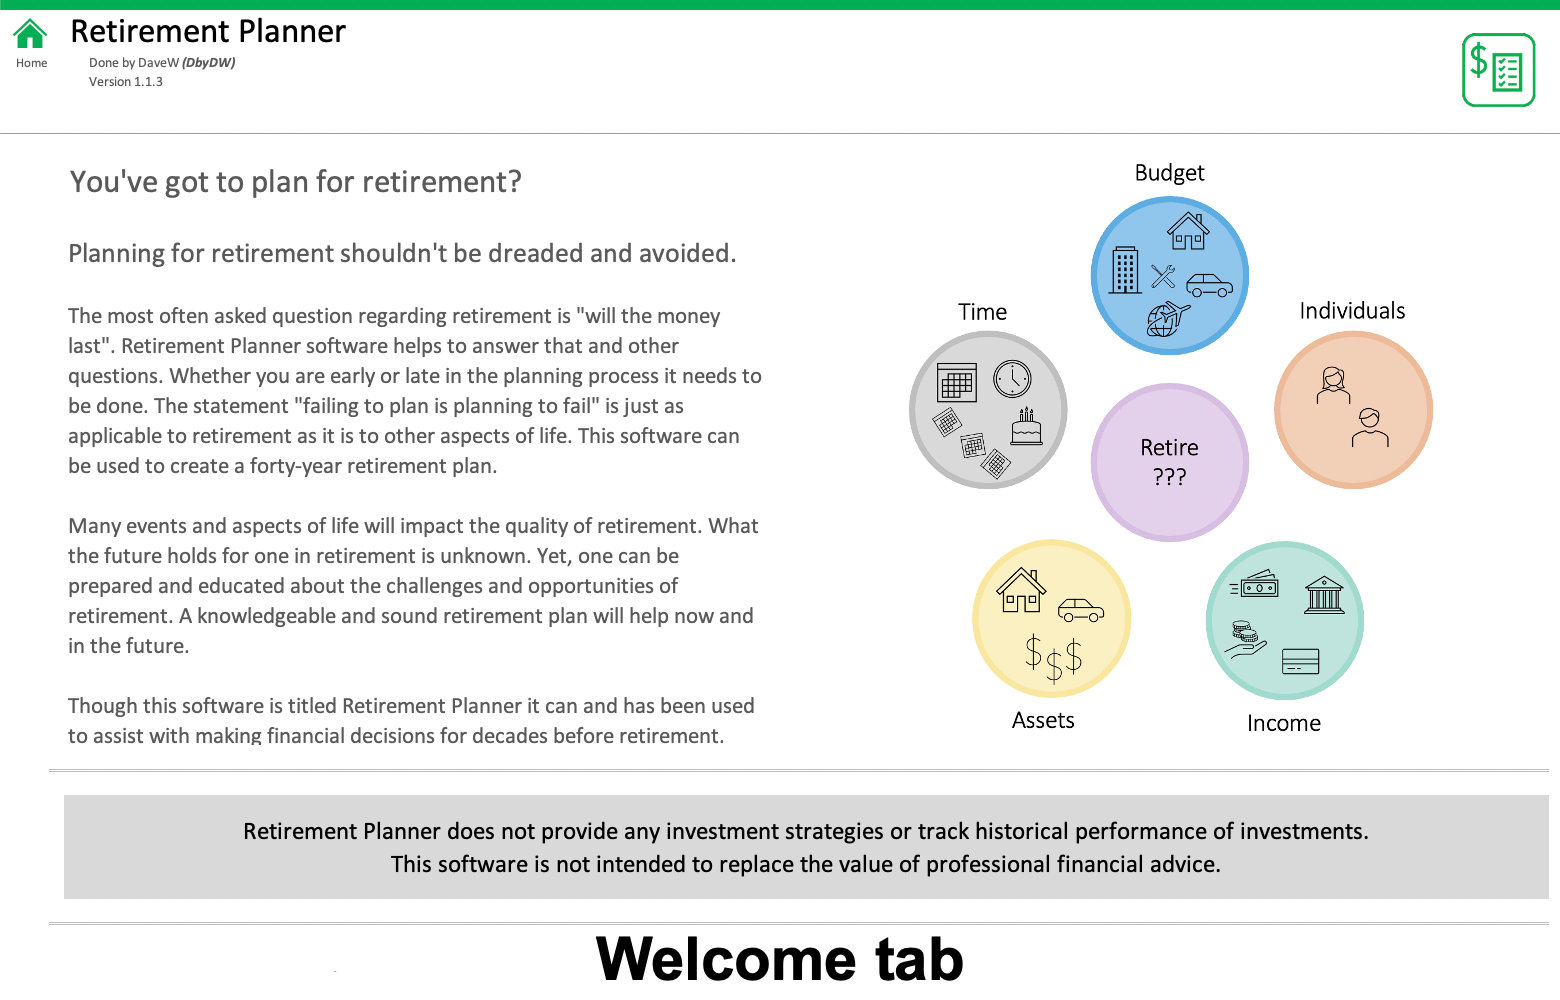
After responding to the macro warning prompt, and enabling macros, the first screen that is shown is the Welcome tab. The Welcome tab is the default first screen. The default first screen can be changed to the Home tab by changing an option on the Settings tab.

The Settings tab is accessed by clicking the green gear in the upper right-hand side of the Home tab.
Green calculator message
The default setting is for an informational message box to be shown at startup. This message informs the user that the green calculator icon on this tab and the Retire tab must be pressed when prompted. The prompt will be a message with red background indicating the green calculator icon should be pressed. The OK button shown in the message box must be pressed to continue and begin using use this software.
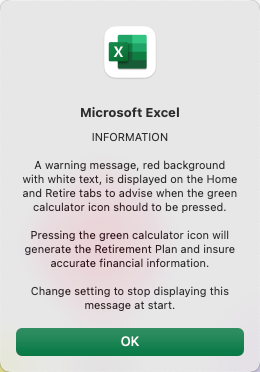
This startup message can be suppressed by an option in the Settings tab. The option is titled Display Green Calculator message at startup. Modify the setting to 'N' to suppress the message.
Other screens
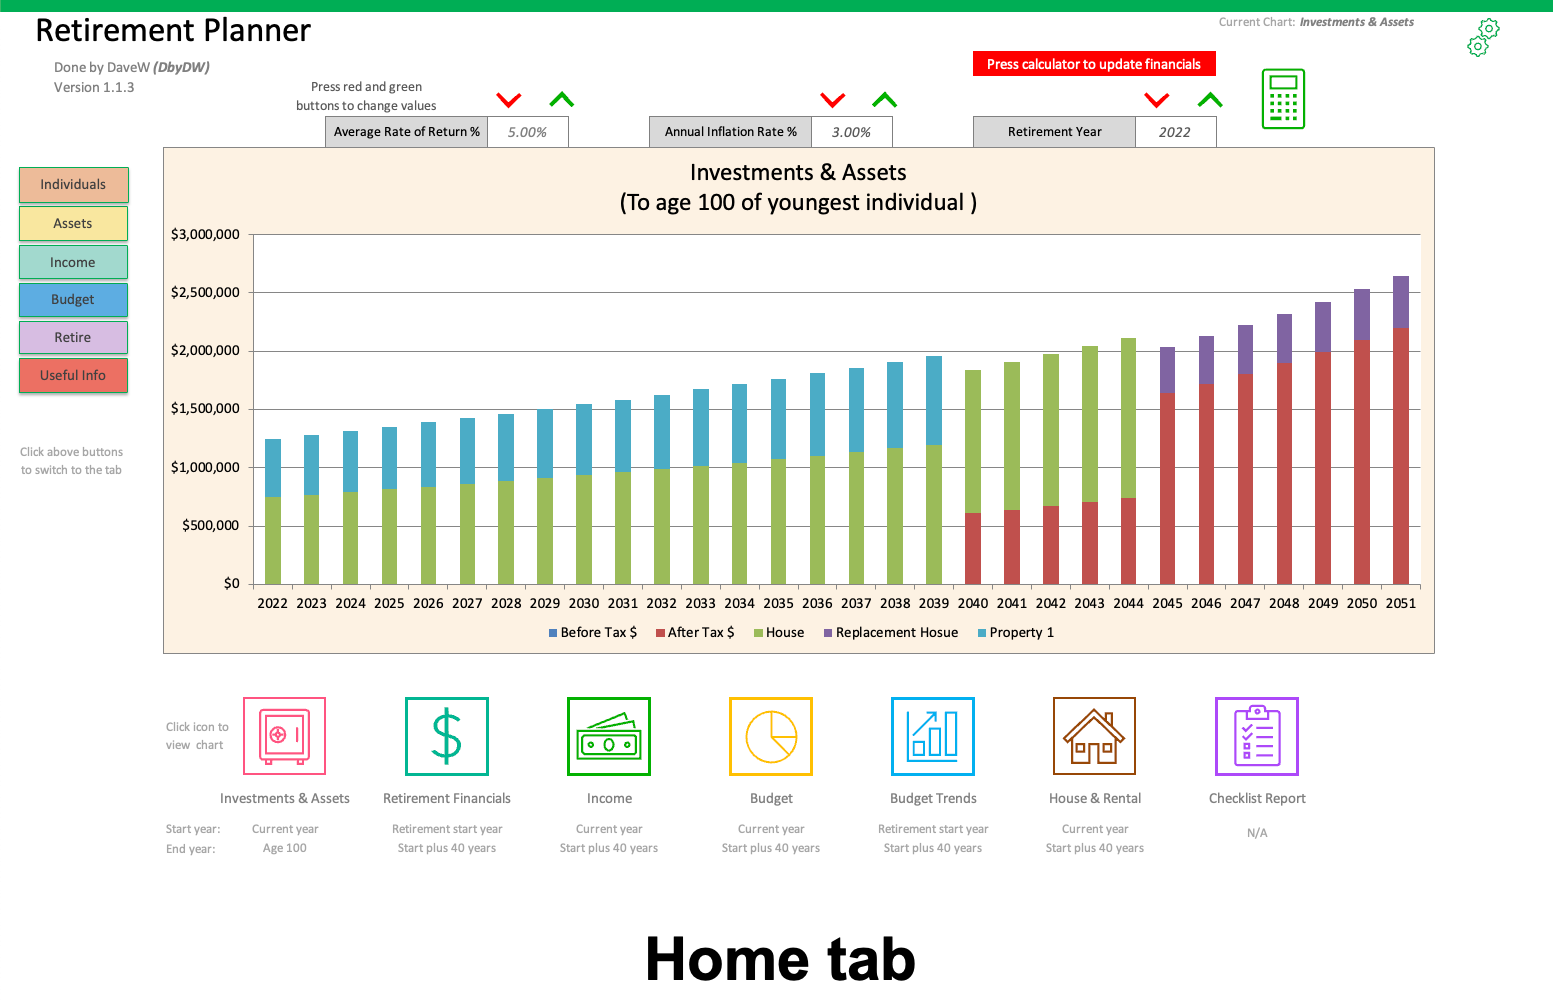
The following diagram shows the screens (Excel tabs) that are shown in this software. The default tabs, shown when the software is started, have icons that link to other tabs. Default tabs are shown in the top of the image, optional tabs shown in middle, and developer tabs shown in the bottom.
Developer tabs are shown in the diagram for completeness yet are only available when the Visual Basic feature of the Excel menu option Developer is enabled. The Developer menu option is out of scope for this documentation.
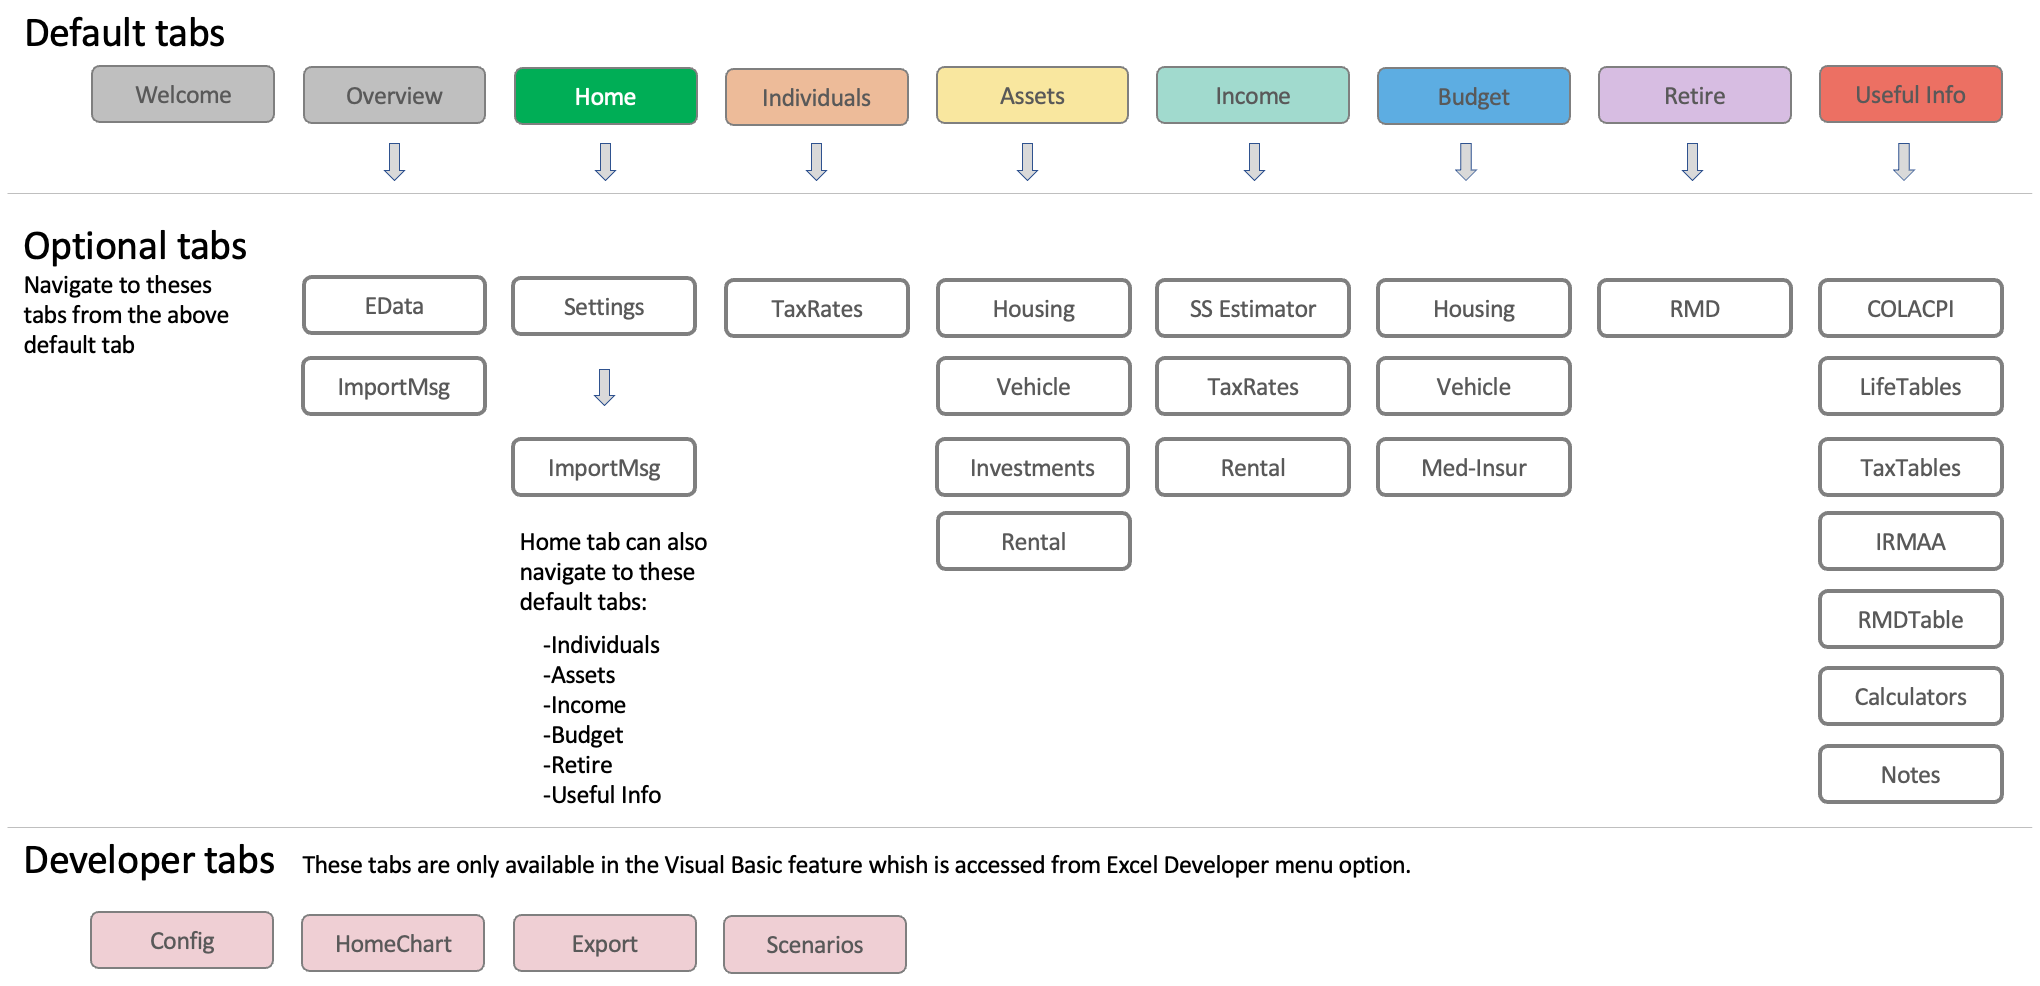
For a description of any Default or Optional tab refer to the User Interface section of this documentation, select Tab detail, and then select the tab name to view the tab description.
Getting started
Several tabs are used to enter and maintain data needed to create the retirement plan. From the Overview tab data from four different scenarios can be loaded. Once loaded the scenario can be reviewed and modified to gain familiarity and understanding of the software. To load a scenario, from the Overview tab, scroll to the four green scenario buttons. A brief description each of the scenarios is shown below the associated green button. Click on any one of the buttons to load the associated data.

When done exploring a scenario, if desired, another scenario can be loaded and reviewed. It is important to understand that when loading a scenario all existing data will be over-written.
- Data import -

Pressing any of the scenario buttons will start the data import feature of this software. A message prompt to confirm the import of the scenario is shown. Press the Yes or No button to respond as appropriate.
Create your first plan in 15 minutes or less
This software has no capability to clear all data. To get started with a retirement plan it is recommended to select and load a scenario as a starting point, then modify as needed.
Since this software is intended to provide a long-range estimated financial plan start with estimated financial information. For most people their information is spread across multiple online accounts and not easy to access. The first attempt to enter data can be a best guess effort. The following is a possible guide for getting started.
Estimated dollar amounts are OK
Don't let accuracy be the enemy of creating a plan. Estimated dollar amounts are fine to get started. Values will change as the plan evolves over time.
Since starting with data from one of the scenarios be sure to clear out any data that is no longer needed.
-
Individual tab - Enter name(s), date of birth(s), retirement start year, tax filing status, and tax state. Be sure to press the Update tax tables button.
-
Assets tab - Enter data in the Vehicles, Housing, and Investments. Using estimated amounts for Current Values is typically a good starting point. If you know the actual amounts that's great. You can always come back and update the values.
-
Budget tab - For first time users this tab is often the most challenging. Getting starting it may be easier to use a single dollar amount for each of the major sections e.g. Housing, Transportation, Utilities, etc. If a category doesn't need to be used simply zero out the dollar amounts and go on the next category. This approach can help get started but the budget must be accurate at some time to generate the best plan. The existing line-item descriptions in each category can be changed to meet your needs. These line items are provided to help identify possible ways your money is spent. Don't cheat yourself and skip entering line items of where money is spent.
-
Income tab - Enter your monthly gross income, start year, percent of increase, and percent taxable.
-
Retire tab - Using the green and red chevron icons to change the average rate of return, and annual inflation rate. Press the green calculator icon and wait as the plan is generated.
Congratulations, the first plan is created. Now it's time to review the plan and iterate through each tab and update data as needed to create a more accurate plan.